Sunday, June 23, 2013

Office Re-Vamp, Part 2!


Welcome back, all!  Thanks for coming by to see the rest of my updates to Stephen's office.  None of the things I did for this half of the room were nearly as involved as the slipcover I showed you a couple days ago, but they still make a big impact on the room.

The kids were really excited to help me with this makeover, so I let them be involved in the biggest project I did.  We decided to make a book page tree on the window wall of the office, right next to Stephen's desk.  Vintage book pages are an incredibly versatile decorating tool! I've made wreaths and swags out of them, and even Modge Podge them onto canvases for one of the most popular items in my Etsy shop.  Lily and James were pretty psyched about the idea of a tree looking like it was growing up next to Stephen's desk, too.

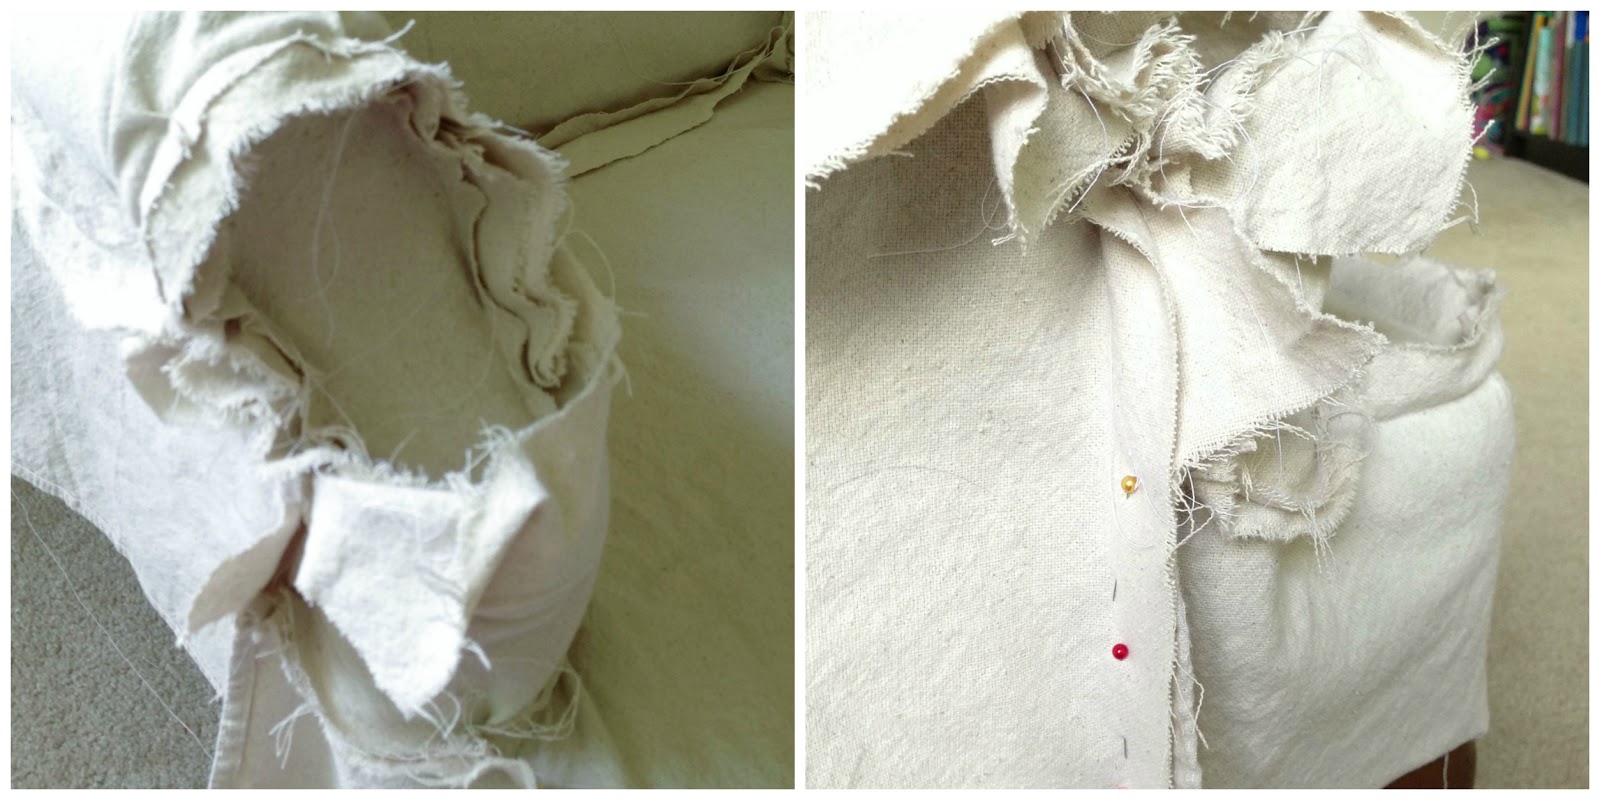
The first step to making this tree creating a "trunk," which we made from dollar store brown craft paper.  Brace yourselves, this picture was extruded with difficultly from my phone:


Oh, and see that pile of trash all over the desk?  Yeah, that's called "creativity in progress."  Anyway, that's how the tree looked before it had any leaves.  I tried attaching it to the wall with just putty, but that wasn't happening, so it's nailed up there.  The kids got to choose where each branch went, and I think they did a great job!  After the skeleton of the tree was finished, I set to cutting about eleventy billion leaves from a vintage book called The Perrin Writer's Guide and Index to English.  Perfect for Stephen, I thought. :)

To add a little extra visual interest to all the paper leaves, the kids painted a few of them green.  They positively loved this part.


It took a couple tries before I liked the arrangement of the leaves on the tree, but it ended up working really well.  Lily even made a little owl to perch in a hole that I painted in the tree trunk.  As you can see in these pictures, I ended up adding some paint to give the brown craft paper a little more texture.  It looked too flat and very un-barklike before I painted it.


The kids are so proud of our little tree.  They had lots of fun bossing me around about where to put their green leaves, too.

The other major thing we did on this side of the room was to create a bit of a gallery wall behind Stephen's desk.  There are lots of special things in there, so I'll tell you about them individually, but here's a view of that whole area first.


I actually had lots of fun trying to create a masculine look in this room.  I've never really tried to do that before, since I basically just assume that Stephen likes whatever I do.  Ha!  In his office, though, I made a real effort to stick to non-girly stuff.

The main focus of the gallery wall is the wonderful painting Stephen's brother Kyle made for him.  It's a fabulous Texas-y scene of cowboys sitting around their fire late at night.  I love it!


I'm so sorry I couldn't get a better shot of the painting!  It's in the corner of the room and it just doesn't get enough natural light for my little camera to do it justice.  (Sorry, Kyle!) 


All the photographs on this wall are ones Stephen took himself.  Remember the crooked 3x5 photos I mentioned last time?  Well, the two pictures mounted on linen in this gallery wall are a part of that set!  I've actually always really liked those photos (Stephen's had them displayed for as long as I've known him), but they were a bit forlorn in those little black frames that never hung straight.  If you go back up and look at the picture of the tree trunk in its pre-leaf state, you can just see those 2 pictures in their old frames.  Much better now, huh?  The photo in the larger frame is actually one he took while he was in Venice.  That might have been the thing I was most excited for him to see, actually.  He posted it to Facebook while he was there, and I got it printed and framed before he got back!  Booyah!  Several points to me.

The last two items in the gallery wall are projects I did to fill in the space.  To the left of the painting is a slice of a tree branch (from Michael's) that I painted with a couple simple stripes.  I pulled the colors from Kyle's painting, to help unify the grouping.


I love the texture of the bark on that piece.  It's a nice, masculine project that took about 3 minutes to complete, and is a great tie in with the tree we made on the adjoining wall.  Lastly, I embroidered the word "Read" onto my favorite natural linen and left it framed in the embroidery hoop.  This project is actually pulled straight off Etsy.  If you'd like one of your own, here's the shop where you can get one! 


Again, I love how this project turned out.  It's a really simple piece, just like the wood slice, but think it works perfectly for the space.  What with Stephen getting his PhD in English and all. :)

So, with the walls surrounding it complete, I just had to work on the desk itself.  I wish I could have afforded to replace Stephen's big "some assembly required" particle board desk, but that'll have to happen at a later date.  This wasn't a big budget makeover, after all!  In that spirit, the kiddos and I hit the thrift stores and the craft store to find a few accessories.

A while back I put a plant in the office, which Stephen really liked.  Unfortunately, it's no longer with us, so this time I decided to go for a fake one.


Michael's has some of the best faux succulents I've ever seen, and on sale this pair was only $5!  I've had that little copper pot for years, and it made the perfect home for them.  Bonus, they can't die!

My favorite thrifty find by far was this really cool 1952 golf tournament trophy.  Stephen likes to golf when he gets the chance, but mostly we love watching it together.  (Yes, I did just admit that I like to watch golf on TV.  This little guy is a nice reminder for Stephen of one of the ways he's influenced my watching habits.  For better or worse, as they (and we) say.  I'll let you decide which, in this case.)


Isn't he great?  I really, really love the old Bakelite plastic of his stand.  Oh, and did I mention that he cost $.89?  Yeah, less than a dollar.  Thank you, Salvation Army thrift store!  After cleaning off and organizing a bit, the desk was finished.  Here's the view from the chair over towards the closet:


Meh.  Apparently I didn't straighten out the curtains for that shot.  Just ignore that, please.  Anyway, with the updates to the desk area finished, the makeover was complete!  I don't even sorta have a wide angle lens, so the best I can do is these two pictures which show both sides of the room:


What do you think of the whole thing?  I love it!  It's a much more comfortable and functional space now.  Stephen was really happy when he saw it, too.

Thanks so much for taking the time to check out this makeover!  Hope you like the results as much as we do, and I especially hope it gives you some ideas for your own home.

Friday, June 21, 2013

Office Re-Vamp, Part 1


Hello lovelies!  Sorry it's been so long, but we've had a whopper of a month.  Last Sunday I completed nearly 3 (very long) weeks of single parenting.  Oh. My. Word.  Though I already knew it, this absolutely confirmed that I am a dreadful single parent.  Just terrible.  I even had my parents with me to help for a lot of the time, and I was still a total mess.  I'm eternally grateful for (and in desperate need of) my fabulous husband. 

Anyway, there was no way I was going to get any blogging done while I was alone with my two (sometimes feral-esque) children, but I did get a major project finished!  For a Father's Day surprise, I decided to redecorate and reorganize Stephen's office while he was away. It's the only room that's remained virtually untouched (by me) since we moved into this house 3 years ago.  I've left it under his decorating control, but I've reached my limit. :)  Everything looked really haphzard and un-put-together, so I used Stephen's absence to whip it into shape without bothering him (he works from home most days).

Most unfortunately, I didn't have the camera to take many good before or in-process shots of the room.  During the first 2 weeks of his absence, Stephen was at a conference in Venice and he took the camera with him.  Yes, Venice.  The one in Italy, not the beach one here in Florida.  Without me.  I know, disgusting. So I apologize for the lack of behind the scenes photography!  I grabbed a few pictures with my phone, which I'll share, but that's the best I could do.  Just imagine a fairly disorganized space with a huge college-style poster hung way too high on the wall behind his desk, surrounded by crooked and tiny 3x5 photos he took many years ago.  (**Update!  Stephen is offended by my description of his decorating efforts.  While I stand by my assessment, I will add that the poster is of a boat, not sexy ladies, so it's not really that college-y.)  Also, the only non desk chair we had in there was the glider we bought when Lily was born, which had broken and was super uncomfortable.  Oh, and the curtains that cover the closet were on the floor because James ripped the curtain rod right out of the wall.  Superb.  The room just wasn't working on pretty much any level. 

My first priority with this redo was getting Stephen a reading chair that he could actually, you know, read in.  That pitiful old glider had to go, so I hit the thrift stores to try to get a comfy wingback chair that would be both functional and pretty.  When I got to the Habitat for Humanity shop, there it was!  The perfect chair with great bones for $50.  It was a good chair and we really needed it, so I was willing to shell out the full $50 for it, but when I got to the register I found it that it was 75% off that day, so it only cost me $12.50!  What?:  Totally awesome score.  The only problem?  This is what its upholstery looked like:


Ewwwww.  1970's furry brown!  Seriously, you can't really tell from this picture, but the only way to describe the texture of fabric is "furry."  It was really, really gross.

So, now I had the chair, but I needed to make it not so heinously unattractive.  I've attempted to slipcover a couch a few times before, but always end up getting half way through and then giving up.  I'm not sure if it's because I get bored or just because I have no idea what I'm doing.  Maybe a little of both.  This time, though, the chair really REALLY needed to be covered, so I decided to seek help.  Marian from Miss Mustard Seed has a great video tutorial series on slipcovering a wing back chair and I just followed her instructions.  If you're interested in giving slipcovering a try, I definitely recommend her videos!  Here's the link

For this project I used my favorite canvas dropcloth.  It's such a sturdy fabric and an incredibly good value for the amount of material you get.  Use it, you won't be disappointed!  Let me tell you though, that thick fabric did a number on my sewing machine.  The area around the arms, in particular, really got crazy.  I think I broke 4 needles on this slipcover. (Caution: blurry cellphone pictures ahead!)


The whole thing actually only took me a few hours to put together.  I'm so, so happy with how this turned out!  I'd never done piping before, but gave it a try on this chair and it worked great.  It makes the edges look much more put-together than they would without it.


Yay!  Pretty great for a $12.50 chair, right?  I know the skirt is on the feminine side, but I offset that with the rest of the projects in the room.

One of the masculine-y things I did was make those bold, graphic curtains for his closet!  (I should mention that the reason there are curtains in front of the closet is that I always remove all metal bi-fold doors when we move into a house/apartment.  Of course by "I," I mean Stephen.  I HATE those things.  They reside in the garage now.)  I reinstalled the curtain rod using some seriously heavy duty wall anchors.  Hopefully that will protect it from more 2 year old terror attacks.  I love the white and gray color blocked curtains I've seen around recently, so I made my own version out of a white king-sized sheet with strips of gray sheet sewn right on top.  I didn't even bother finishing the edges of the stripes, since these aren't in a super high traffic area and won't get opened all that often (barring 2 year old shenanigans, of course).  Don't they look good?  I think they add a great graphic punch to an otherwise boring side of the office.

So, those 2 projects cover that side of the office redo.  Next time I'll show what I did on the desk side of the room!  It wasn't nearly as involved as making that slip cover, but it took almost as long to put together nonetheless.  His desk area was pretty awful.  The kids helped with the projects I did over there (which may help account for how long it took to complete them...), so you'll get to see some of their handiwork tomorrow!