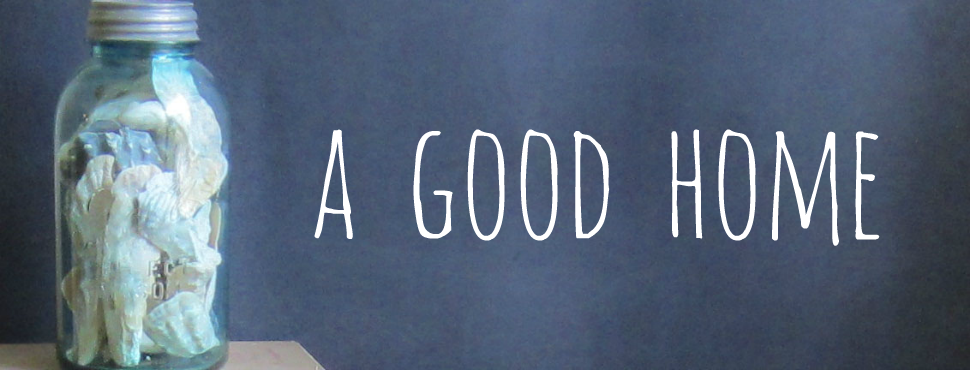

I have a lot of white in my house. All white slipcovers on my living room furniture, antique white dining chairs, white bedding on our bed, several pieces of white-painted wood furniture. You get the idea: I love white. To me it's the perfect neutral backdrop for any decorating choices I make. (Oh, and in case the idea of white slipcovers makes you cringe, seriously, they're the best. Bleach, my friends. Bleach is a truly magical substance that transforms my child-abused white slipcovers back into their gorgeously crisp and clean former selves whenever I wash them. It's quite cathartic.) With all the white around me, I've recently been exploring the way texture impacts a space. A totally white bed can be just as interesting as a busily patterned one, as long as that white is presented through lots of differently textured pieces. I'm really in love with highly textured neutrals, in particular. Don't get me wrong, I love bright vibrant color and use plenty of it. I don't think anyone visiting my house would say that it lacks color, even for all the white. However, give me something in a neutral color (like grays, tans, whites, etc.) that's full of interesting texture, and I'll swoon over it every time.

A couple of years ago, our family went on a beach trip to Myrtle Beach, SC. Whenever I got the chance to slip away from my kids (i.e. when I could convince Stephen to let me abandon him with them for a few moments), I wandered the beach, collecting the most beautiful oyster shells I'd ever seen. Being the ocean-loving girl that I am, I have lots and lots of shells in my house. I didn't, though, have any oyster shells. They're lumpy, grayish, and not nearly as flashy as lots of the other more oft-collected varieties of shells. Call me crazy, but I was immediately smitten with those funny looking things. I brought home a couple jars full and have been happily displaying them since. Well, when it turned out that we were going to be heading back to Myrtle Beach this summer, I was on a mission. Before we even left, I decided that I wanted to try to make a wreath for our front door out of some of those gorgeously textural, grayish blue shells. (I'm telling you, I'm a serious sucker for the neutral + texture combo.)
To that end, everyday while the kids were resting I went down to the beach with a plastic grocery bag and scoured the sand for my little treasures. I even used the flashlight app on my phone so I could search one night after dark! If you were in Myrtle Beach a couple of weeks ago, I was that weird woman hunched over the sand, digging around pilings and the like to look for the funky gray shells. I definitely got some weird looks. At one point, I was even rummaging around the sand at the base of a dumpster. Don't judge. When I have a craft idea in mind, I will NOT be stopped. Since I've been known to actually reclaim whole pieces of furniture from dumpsters, I'm certainly not above looking for shells around them.
Once we got home, I set to work almost immediately. I bought a wire wreath form (those are particularly sturdy and can handle the considerable weight of all the shells) and wrapped it in several strips of canvas to give me a good surface for adhering the oyster shells. It took just a couple hours of fiddling to get a pattern I liked, and now we have a wreath that I absolutely adore! Here she is:

Isn't that fabulous?! I really don't like much about our tiny little front entry, so I didn't take any full shots of the door. The whole area looks a bit sad and dated, but now at least it has a great new wreath. I'm definitely going to be adding a burlap bow for the holidays, just to give it a bit more pizazz.
I had intended to take some good process photos while I made the wreath, but I gave myself the worst hot glue burns I've ever had while making it. Suffice it to say that I was somewhat distracted and forgot all about taking pictures. Conveniently, though, I had lots of shells leftover after finishing the big wreath (seriously, I was a shell collecting fiend that week) so I made a mini wreath so I could show how I did it! You're welcome. :)
So, now that I'm done with that ludicrously long preamble, let's get down to the business of making this mini wreath! First, you'll need to assemble your supplies: a wreath form, shells, and hot glue. I found a perfect little thick cardboard wreath form at the craft store for just $.99, so I grabbed one of those. This wreath would of course work with any shells you have on hand, I'm just really digging these oyster shells at the moment.
My 6" wreath from didn't have any means of hanging, so I used my staple gun to attach some jute twine to the back.

Easy and very effective. The next step is to dry fit your first layer of shells before gluing them down. This is really important, since fitting all the shells together around the wreath is a bit like putting together a puzzle. It would really stink if you got all the way around, having glued each shell as you went, and discovered that you ended up with a gap you couldn't fill.
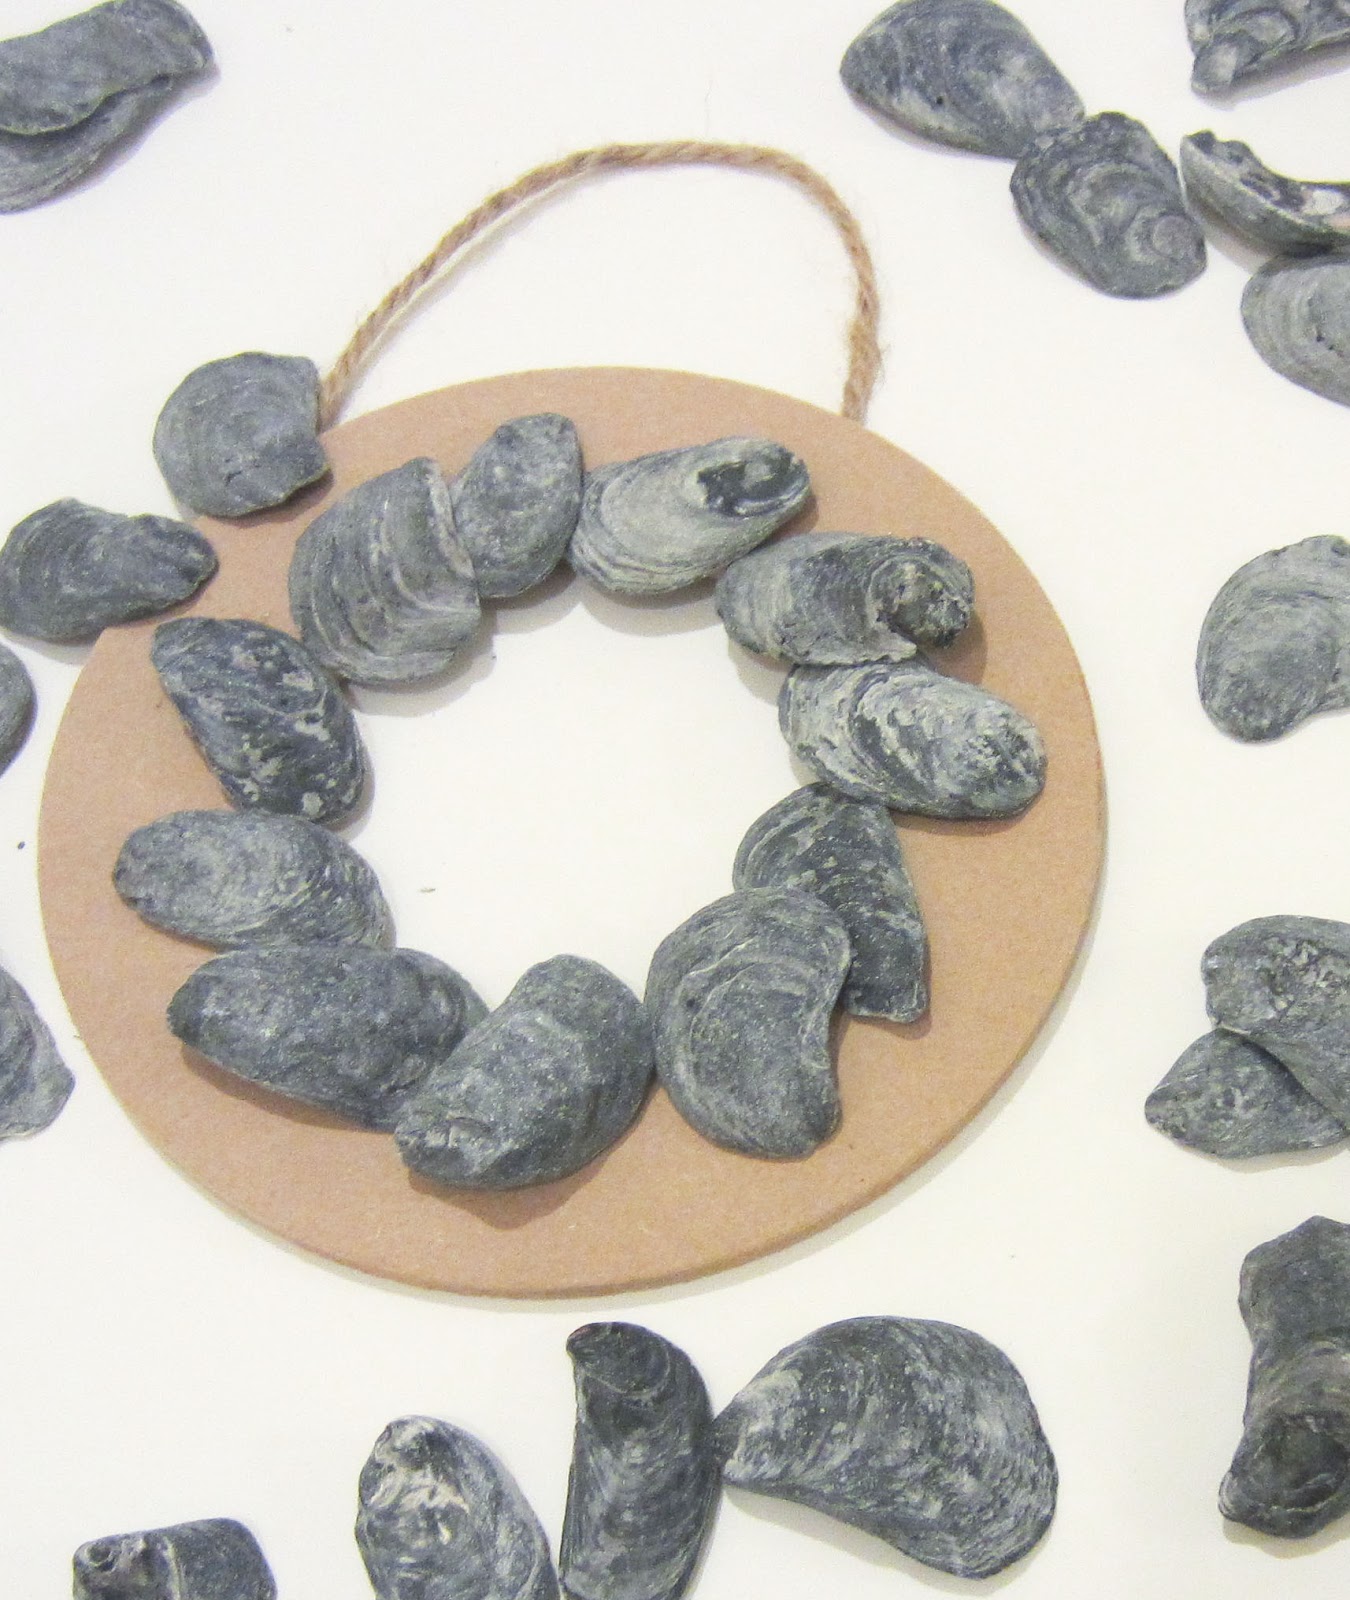
Once you've dry fit both the inner and outer rings, go ahead and start gluing. And for pity's sake, BE CAREFUL! I actually almost screamed, my burn hurt so badly. Somehow I managed to squeeze the insanely hot melted glue right up under my fingernail, rather than onto the shell I was holding. Not. Good. Anyway, once you've glued the first rows you just need to go back and keep adding shells to the top until you can't see the wreath form anymore. You don't need to keep the shells pointing in the same direction, I just liked how that looked on my wreaths.
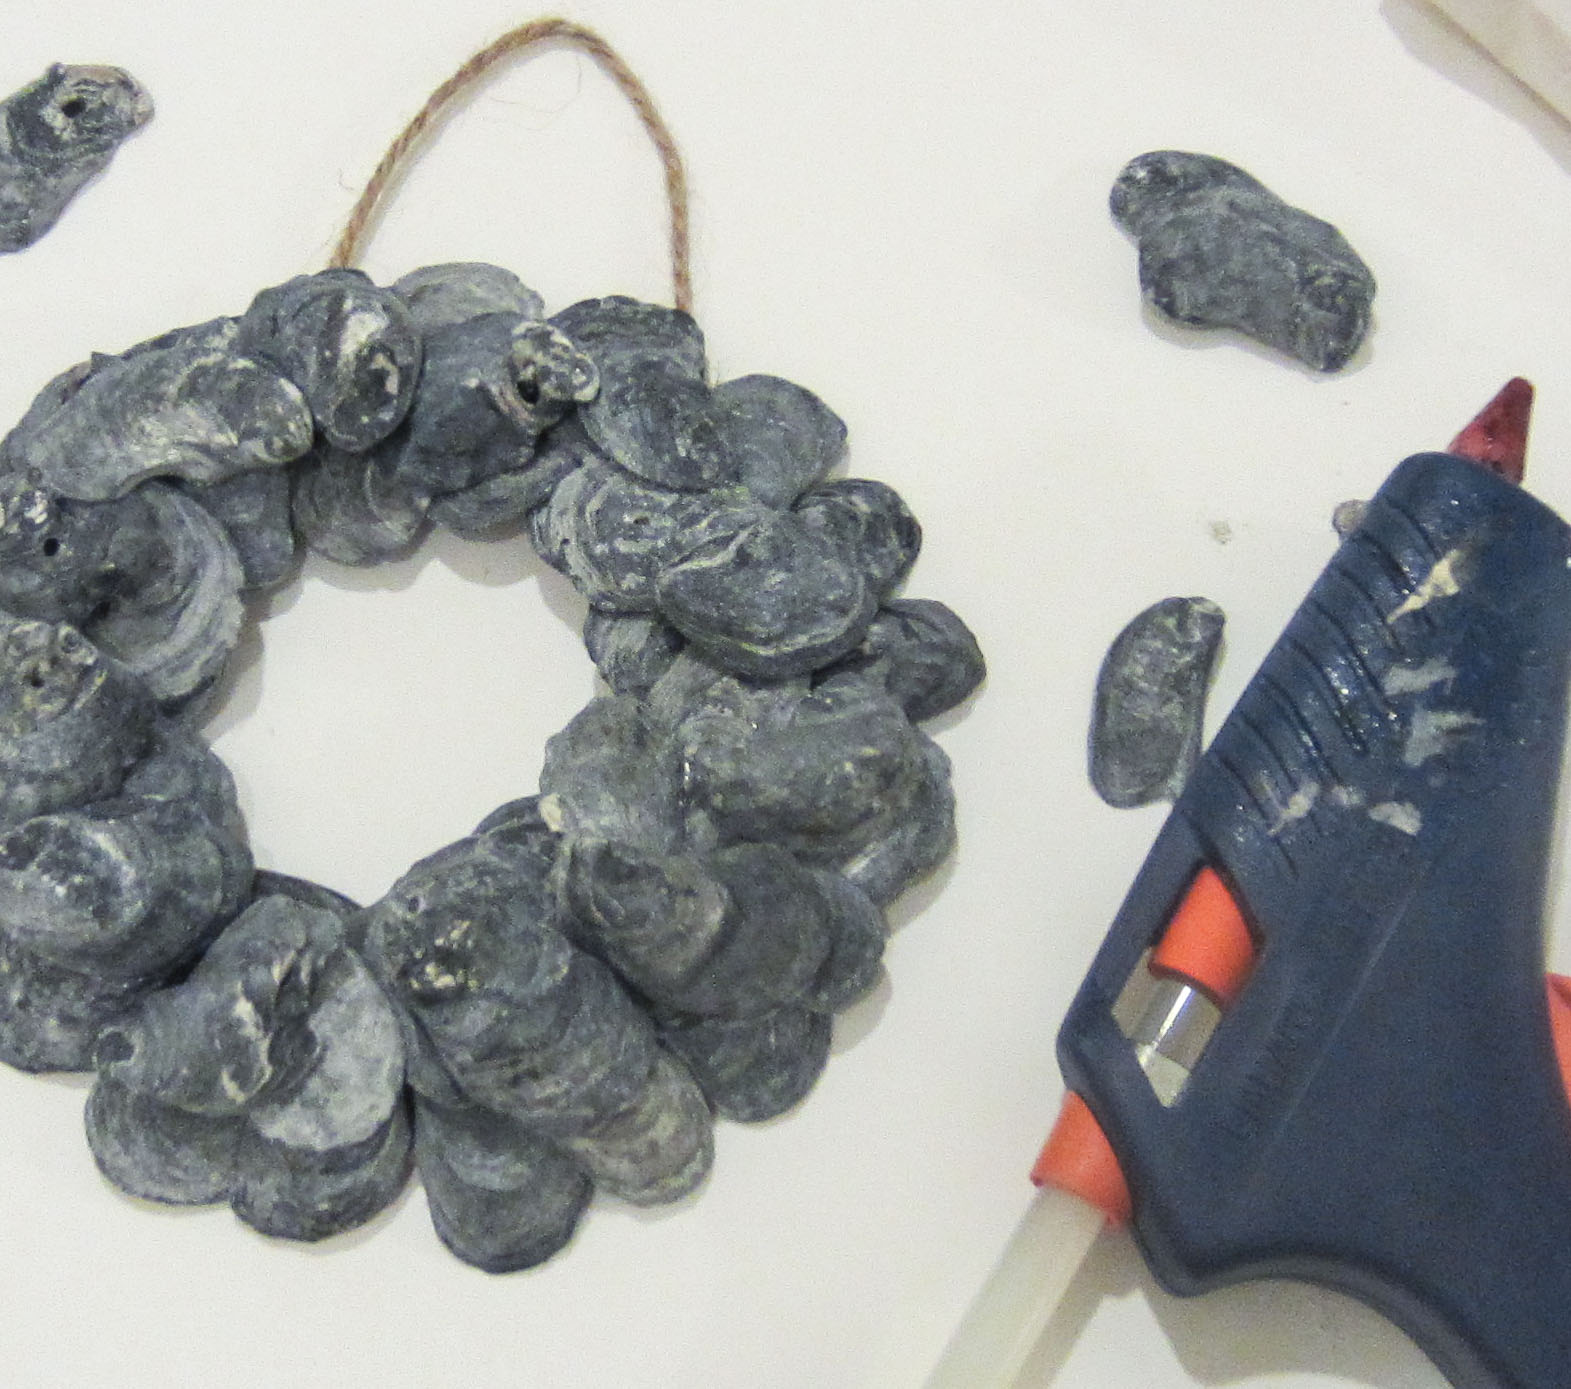
Once you've glued all your shells down, you're done! It really is quite simple. The morning after I completed my mini wreath, I was getting ready to take some daylight photos and noticed you could still see the brown cardboard from the sides.

Does the artfully placed paintbrush in the picture give away what I did to fix that issue? Yep, I just slapped on a little gray paint. Problem solved.

See? The cardboard really disappears once you paint it. In that picture you can see a bit of hot glue peeking out from under one of the shells. Don't worry, it really isn't noticeable when you look at the wreath head on. There's so much going on with the shells, any stray bits of glue are totally lost. I wasn't even particularly careful about making sure to hide all the glue, and you still can't see any.

Total perfection! This small wreath would make a really eye-catching addition to a gallery wall, don't you think? No room is complete without some natural element, and this one really packs a visual punch for such a small piece.
Ok, now go forth, collect (or buy) some shells, and make wreaths! They're fun! They're practically free! They'll impress your friends!

Thanks, as always, for stopping by. :)


