

Anyway, there was no way I was going to get any blogging done while I was alone with my two (sometimes feral-esque) children, but I did get a major project finished! For a Father's Day surprise, I decided to redecorate and reorganize Stephen's office while he was away. It's the only room that's remained virtually untouched (by me) since we moved into this house 3 years ago. I've left it under his decorating control, but I've reached my limit. :) Everything looked really haphzard and un-put-together, so I used Stephen's absence to whip it into shape without bothering him (he works from home most days).
Most unfortunately, I didn't have the camera to take many good before or in-process shots of the room. During the first 2 weeks of his absence, Stephen was at a conference in Venice and he took the camera with him. Yes, Venice. The one in Italy, not the beach one here in Florida. Without me. I know, disgusting. So I apologize for the lack of behind the scenes photography! I grabbed a few pictures with my phone, which I'll share, but that's the best I could do. Just imagine a fairly disorganized space with a huge college-style poster hung way too high on the wall behind his desk, surrounded by crooked and tiny 3x5 photos he took many years ago. (**Update! Stephen is offended by my description of his decorating efforts. While I stand by my assessment, I will add that the poster is of a boat, not sexy ladies, so it's not really that college-y.) Also, the only non desk chair we had in there was the glider we bought when Lily was born, which had broken and was super uncomfortable. Oh, and the curtains that cover the closet were on the floor because James ripped the curtain rod right out of the wall. Superb. The room just wasn't working on pretty much any level.
My first priority with this redo was getting Stephen a reading chair that he could actually, you know, read in. That pitiful old glider had to go, so I hit the thrift stores to try to get a comfy wingback chair that would be both functional and pretty. When I got to the Habitat for Humanity shop, there it was! The perfect chair with great bones for $50. It was a good chair and we really needed it, so I was willing to shell out the full $50 for it, but when I got to the register I found it that it was 75% off that day, so it only cost me $12.50! What?: Totally awesome score. The only problem? This is what its upholstery looked like:

Ewwwww. 1970's furry brown! Seriously, you can't really tell from this picture, but the only way to describe the texture of fabric is "furry." It was really, really gross.
So, now I had the chair, but I needed to make it not so heinously unattractive. I've attempted to slipcover a couch a few times before, but always end up getting half way through and then giving up. I'm not sure if it's because I get bored or just because I have no idea what I'm doing. Maybe a little of both. This time, though, the chair really REALLY needed to be covered, so I decided to seek help. Marian from Miss Mustard Seed has a great video tutorial series on slipcovering a wing back chair and I just followed her instructions. If you're interested in giving slipcovering a try, I definitely recommend her videos! Here's the link.
For this project I used my favorite canvas dropcloth. It's such a sturdy fabric and an incredibly good value for the amount of material you get. Use it, you won't be disappointed! Let me tell you though, that thick fabric did a number on my sewing machine. The area around the arms, in particular, really got crazy. I think I broke 4 needles on this slipcover. (Caution: blurry cellphone pictures ahead!)
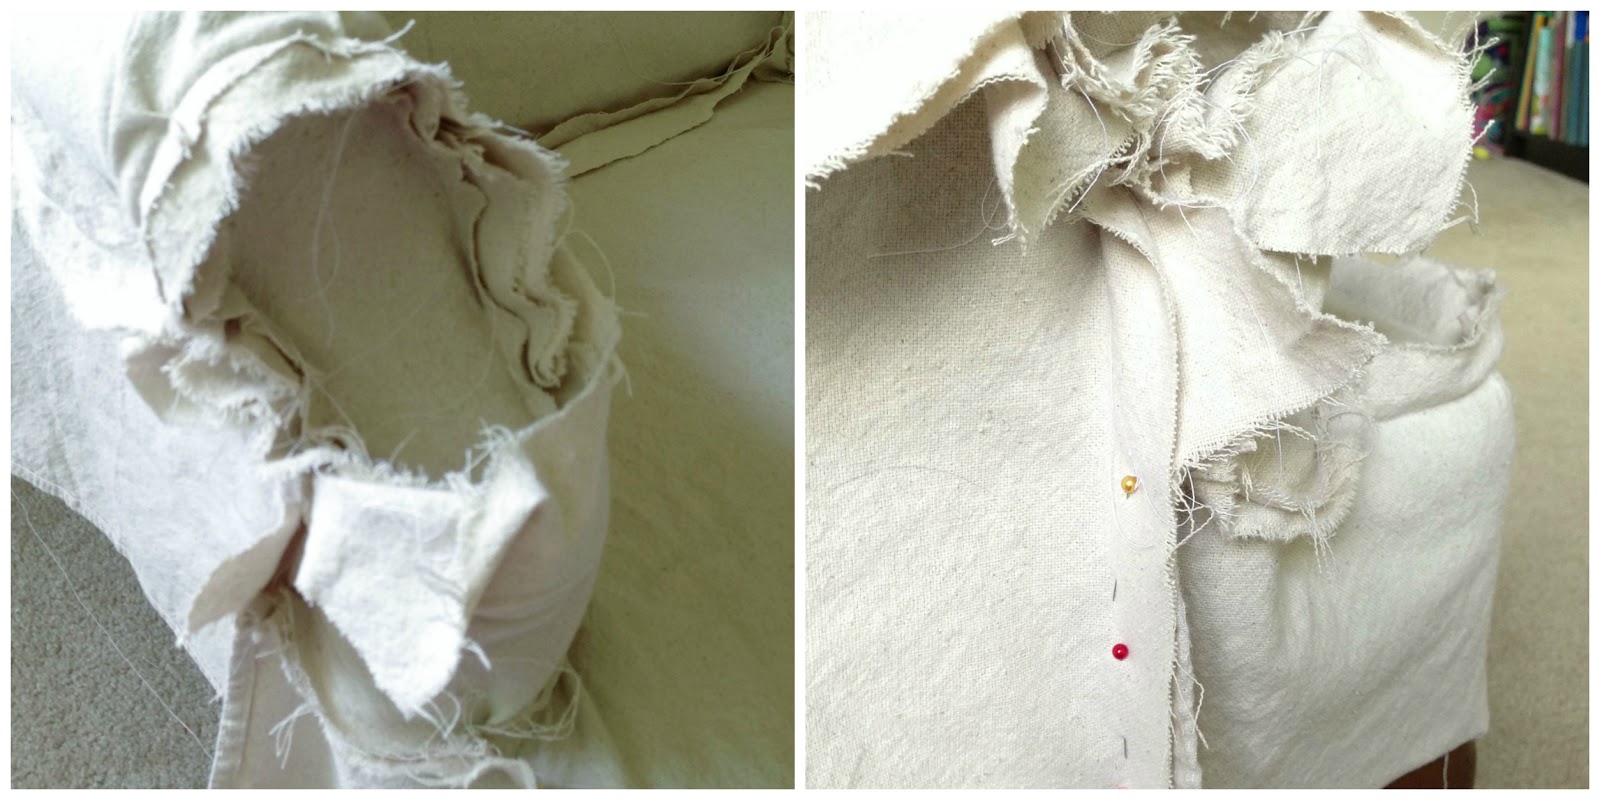
The whole thing actually only took me a few hours to put together. I'm so, so happy with how this turned out! I'd never done piping before, but gave it a try on this chair and it worked great. It makes the edges look much more put-together than they would without it.

Yay! Pretty great for a $12.50 chair, right? I know the skirt is on the feminine side, but I offset that with the rest of the projects in the room.
One of the masculine-y things I did was make those bold, graphic curtains for his closet! (I should mention that the reason there are curtains in front of the closet is that I always remove all metal bi-fold doors when we move into a house/apartment. Of course by "I," I mean Stephen. I HATE those things. They reside in the garage now.) I reinstalled the curtain rod using some seriously heavy duty wall anchors. Hopefully that will protect it from more 2 year old terror attacks. I love the white and gray color blocked curtains I've seen around recently, so I made my own version out of a white king-sized sheet with strips of gray sheet sewn right on top. I didn't even bother finishing the edges of the stripes, since these aren't in a super high traffic area and won't get opened all that often (barring 2 year old shenanigans, of course). Don't they look good? I think they add a great graphic punch to an otherwise boring side of the office.
So, those 2 projects cover that side of the office redo. Next time I'll show what I did on the desk side of the room! It wasn't nearly as involved as making that slip cover, but it took almost as long to put together nonetheless. His desk area was pretty awful. The kids helped with the projects I did over there (which may help account for how long it took to complete them...), so you'll get to see some of their handiwork tomorrow!
MMS's slip cover tutorials are great and your chair looks magnificent! I used her technique with the drop cloth and piping on my old black futon and was thrilled with the results. Great work. You should link up to her furniture Friday links party and show off your handy work.
ReplyDelete